Finally got around to dyeing my sample piece I showed in an earlier post.
Here's some pictures from the process
 |
| My setup in the laundry |
 |
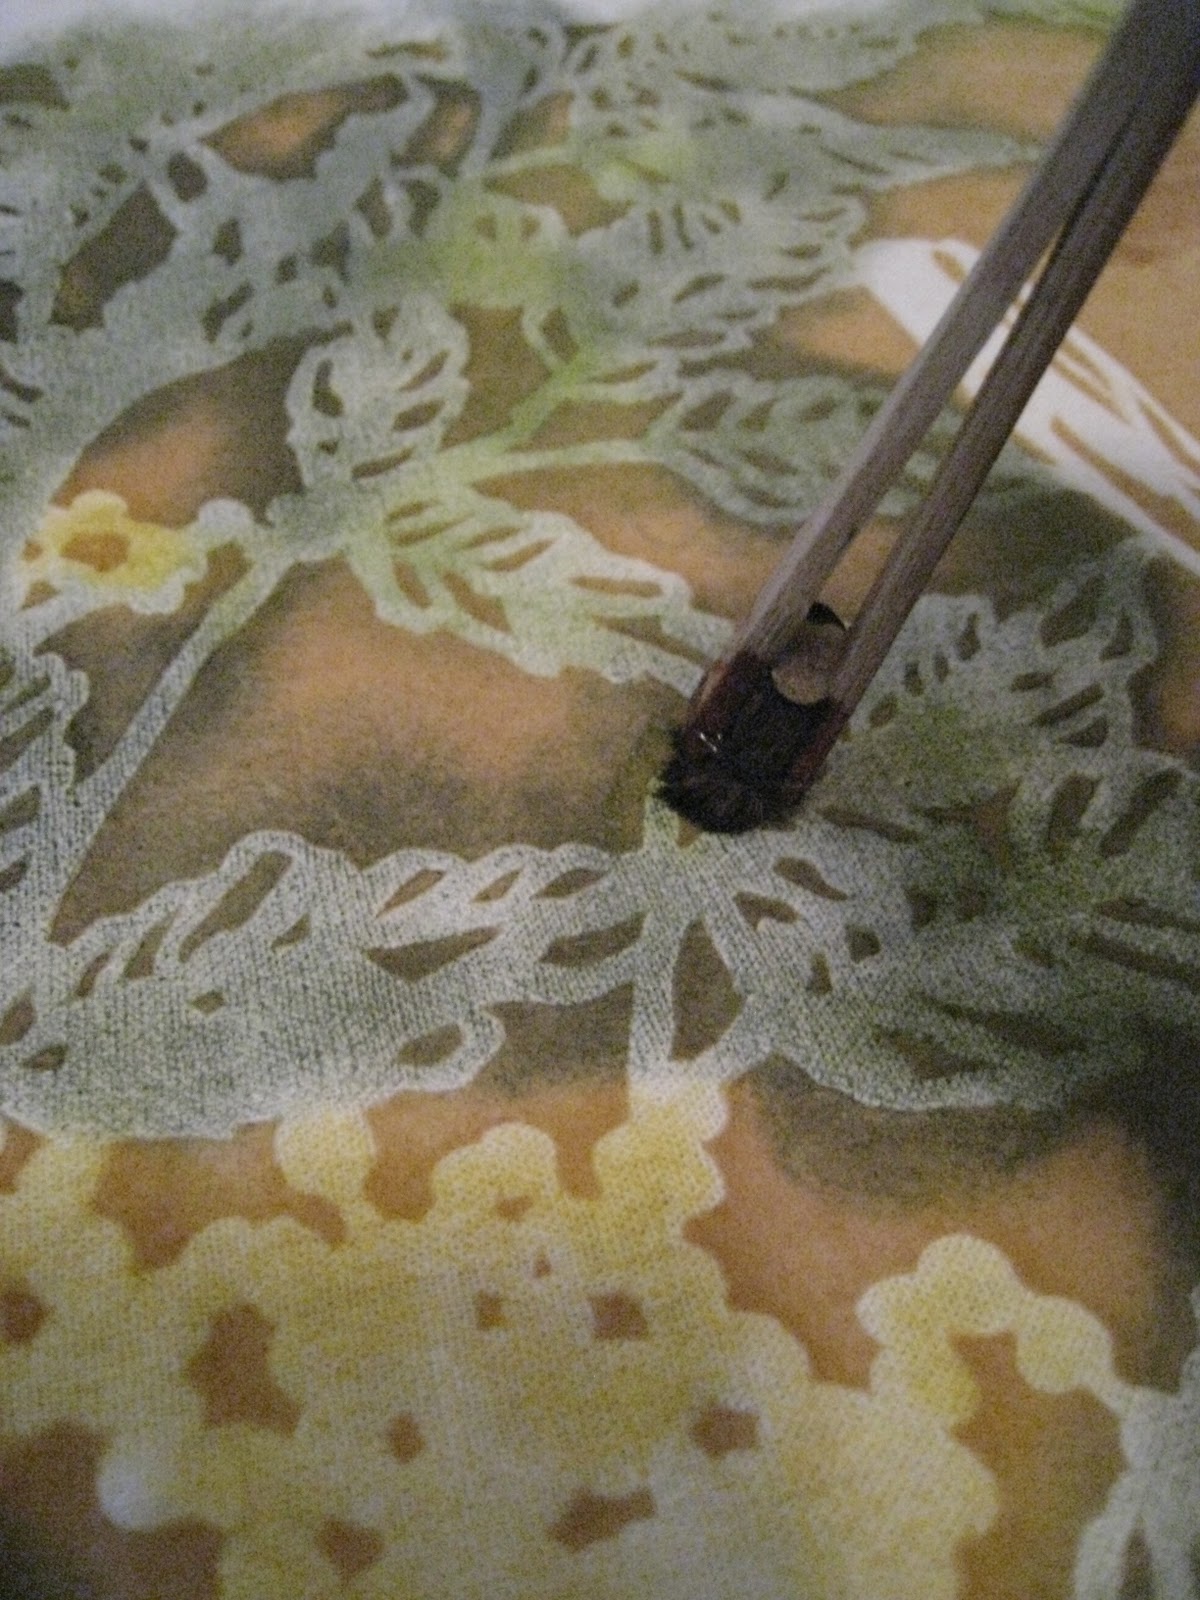
| Using a brush to apply the first layer of dye |
 |
| Getting darker after a second application of dye |
 |
| the back, you can see the dye starting to crisply fill in the spaces between the resist paste |
 |
| Applying a (nasty) chemical to the front side of the piece to fix the dye to the fabric |
 |
| All wrapped up in plastic & airtight to let the chemical do its thing for 2 hours |
 |
| TaDa! |
The dyes came out a bit brighter than I would have liked but hey, that's why you do samples!


hi Melinda,
ReplyDeleteI'm a textile artist doing a research project in the UK. I'm just wondering if you could give me a bit of info on the katagami stencil process? how did you make your resist paste recipe? what dyes did you use? and what was the chemical used to fix the dye to the fabric? thank you! Kelly
Hi Kelly,
ReplyDeleteThe resist paste is a combination of Japanese rice flour called mochiko and a special kind of rice bran called komon-nuka. Basically the two ingredients are mixed together with water to form a dough, then steamed and reworked to form a sticky viscose paste. The dyes I use are Remazol dyes (but the process can be done using natural dyes and other kinds of chemical dyes too). To fix the remazol dyes I have to use Sodium Silicate as the fixative chemical.
-Melinda