Thursday, December 23, 2010

Bags!!

Check out some images of purses I made recently for the Raglan Gallery in Cooma. They are all Katazome dyed 100% Silk and use purse frame closures. Lots of fun and I'm pretty happy with how they turned out.


Wednesday, December 8, 2010

Wrens and Wattle 鷦鷯とワットル

Some pieces I've dyed lately.

different coloured silks

wren design on blue linen
 
the full repeat of this design. (I originally designed this to repeat lengthways)

Sunday, November 21, 2010

Teacups & Silk 絹とティーカップ

Teacups were the subject when I taught Mum some basic Katazome. Here's some images of her very sucessful first try.


Stencil 1: A coloured teacup with white accents
Stencil 2: A white teacup with coloured details
 While we were making mess & had everything out, I had a go printing a piece of green obi silk. It's fabric I salvaged from the back side of a silk obi which I bought in Japan for about $5 I think. It's a bit faded in areas but I think that adds to the soft feel of the colours.

Sunday, October 31, 2010

Katazome Workshop @ Megalo Print Studio - Part 2!

Day 3 of the workshop and the paste was dry so dyeing could commence! We used Remazol dyes which are meant to better for use with resist techniques. Application of the dyes was by using small flat bristled dyeing brushes called Suri-komi brushes.

Jane 1's first layer of dye
Jane 2's negative image - first application of dye
Jane 2's positive image, applying first layer of dye to exposed fabric
Emma testing colours
Emma's very methodical approach, with a grid format
Ele applying her background colour
Once everyone had applied 2 layers of dye, we applied a chemical fixative (sodium silicate) to the fabric, rolled it up it plastic and left it aside for 2 hours to allow the fixative to 'adhere' the dye to the fabric.

Jane rinsing her piece

..and how it turned out.
Jane 2's positive image print. Came out with very subtle beautiful colouring
One of Ele's tea towels.
With very beautiful fine details
Tanya's Alpine inspired design
detail of Tanya's tea towel.
Hopefully everyone felt like they got something out of the workshop and I was able to impart some new knowledge about this textile technique. I'm sure it was mind-boggling at first, to try and digest the way that the process works, as it is so foreign to the ways of working in screenprinting or traditional printing methods. It was great to see everyone so enthusiastic and approaching the technique in their own unique ways.

Katazome Workshop @ Megalo Print Studio - Part 1

Last weekend I was lucky enough to be asked to run a short workshop in Katazome dyeing at Megalo. We had a small class of 5 lovely students and despite my fears of running out of time, everyone managed to produce work over the weekend. (yay!)

We started by having a bit of a cooking session on Thursday evening, to make our resist paste.
 
 Mashing the paste as it came out of the steamer, mixing mixing mixing and Ta-da! perfect paste.
Next step was for everyone to complete their designs and cut a stencil.


 And then we could get messy and print onto our fabric with the resist paste!

Everybody hard at work
Jane's motif printed onto her teatowel
Ele's teatowel half printed, the big reveal as she lifts of her stencil
Jane 2's two tea towel's printed. One negative and one positive image
Tanya printing her stencil
...and touching up small "bridges" in her stencil with resist paste
Everyone's printed fabric ready to dry overnight. Emma's grid in foreground.
See part two: Sunday was spent dyeing the pasted fabric, applying fixative and then rinsing to reveal the fianl artwork!

Serizawa Inspired 「めの字」

This is a katazome piece I produced last weekend during my workshop at Megalo. It was inspired by the work of Serizawa Keisuke, where he portrays single Chinese characters. See the following as an example, where he has portrayed the Chinese characters for each of the seasons, 春Spring, 夏Summer,冬Winter&秋Autumn.
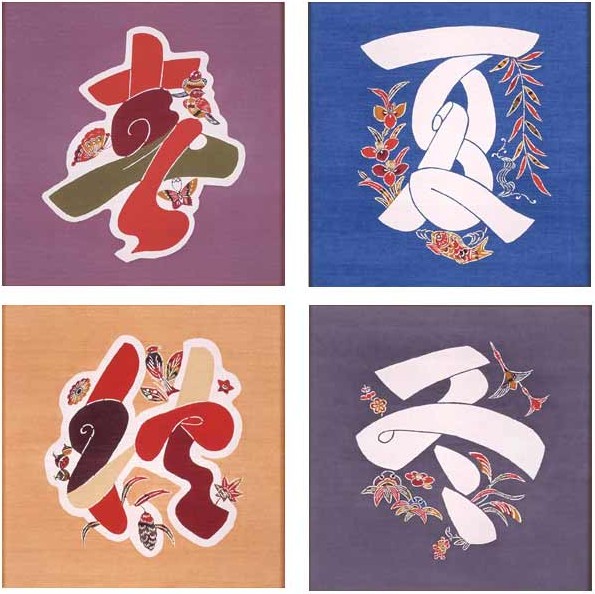
All from 1954, katazome dyed 'tsumugi' silk.
He has also cleverly embellished each one with flowers, birds or animals that are associated with those seasons. I also really love the colours he's used.

For my version, I chose to use a simple hiragana character insetad, め "me" which is just the alphabetic symbol for the sound 'me'. I chose this to represent my name and added my own little embellishment in the way of a superb fairy wren.

めの字 2010 Katazome dyed linen.

Detail of my superb wren.
 More pictures to follow of the workshop...

Thursday, September 30, 2010

Dyeing Sample やっと染めた!

Finally got around to dyeing my sample piece I showed in an earlier post.
Here's some pictures from the process
My setup in the laundry
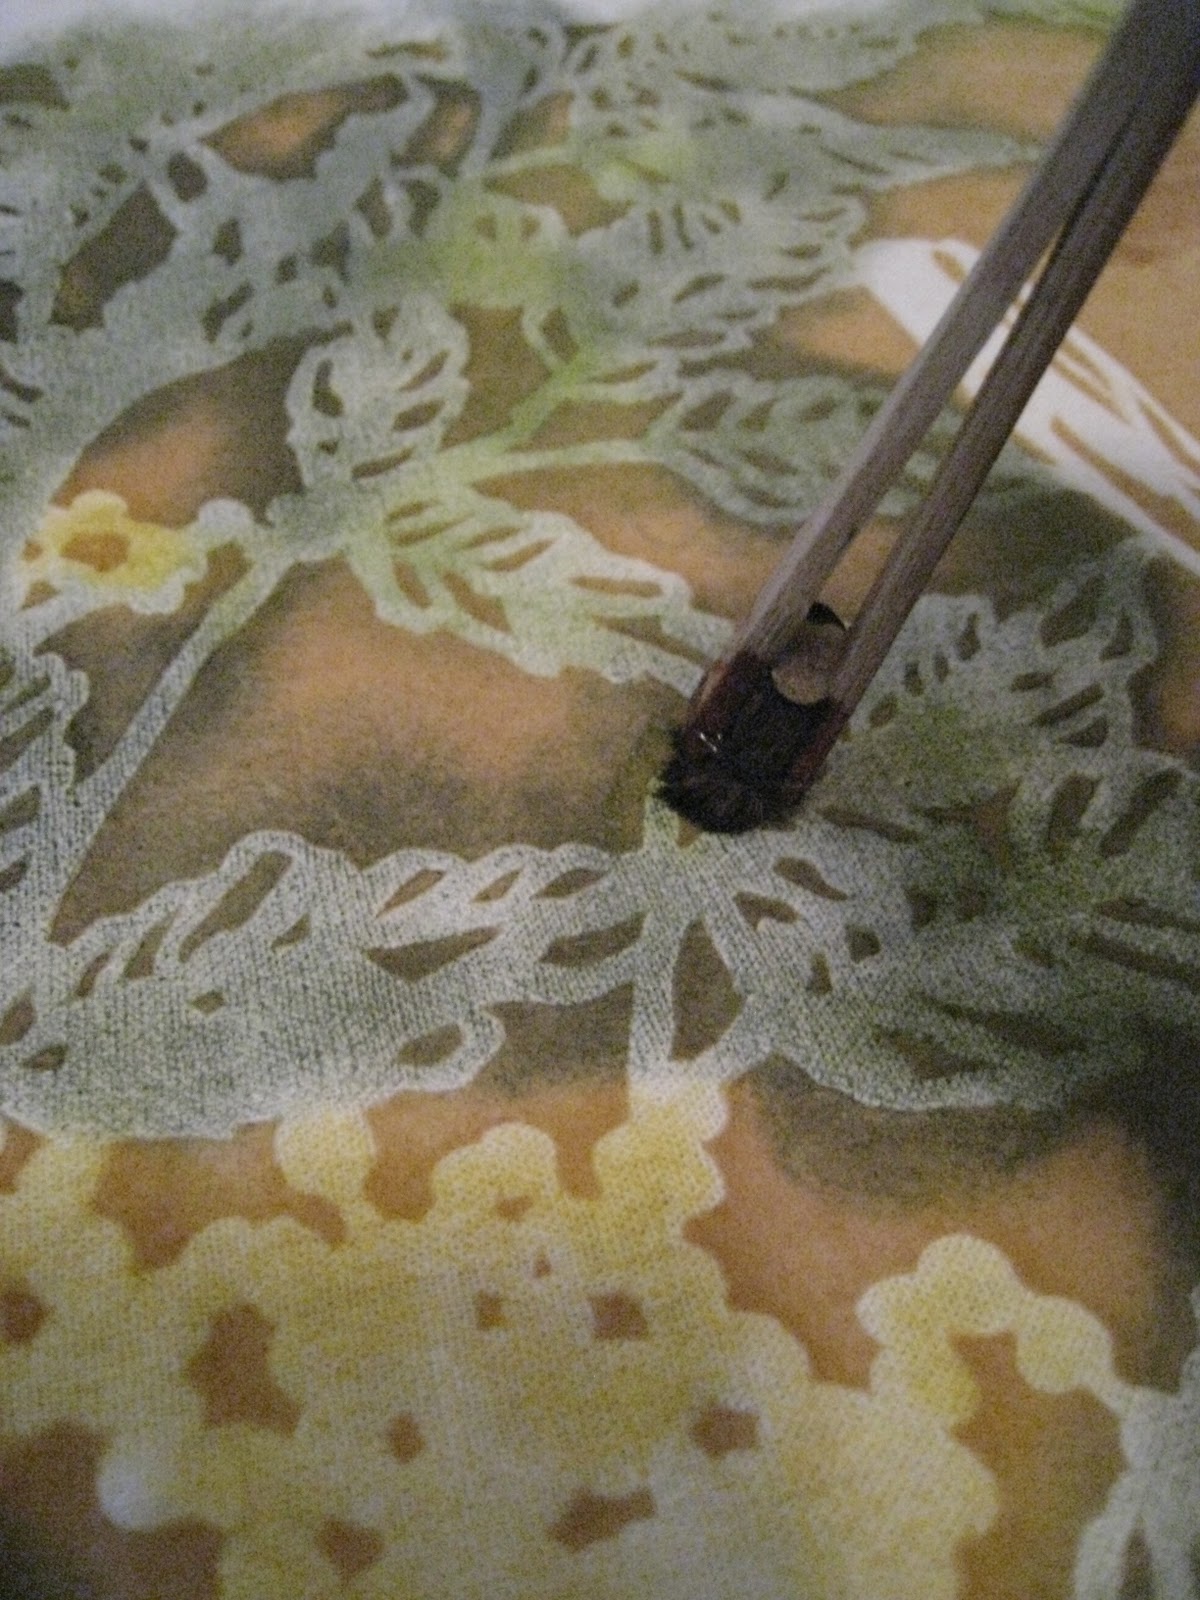
Using a brush to apply the first layer of dye
Getting darker after a second application of dye
the back, you can see the dye starting to crisply fill in the spaces between the resist paste
Applying a (nasty) chemical to the front side of the piece to fix the dye to the fabric
All wrapped up in plastic & airtight to let the chemical do its thing for 2 hours
TaDa!
The dyes came out a bit brighter than I would have liked but hey, that's why you do samples!